
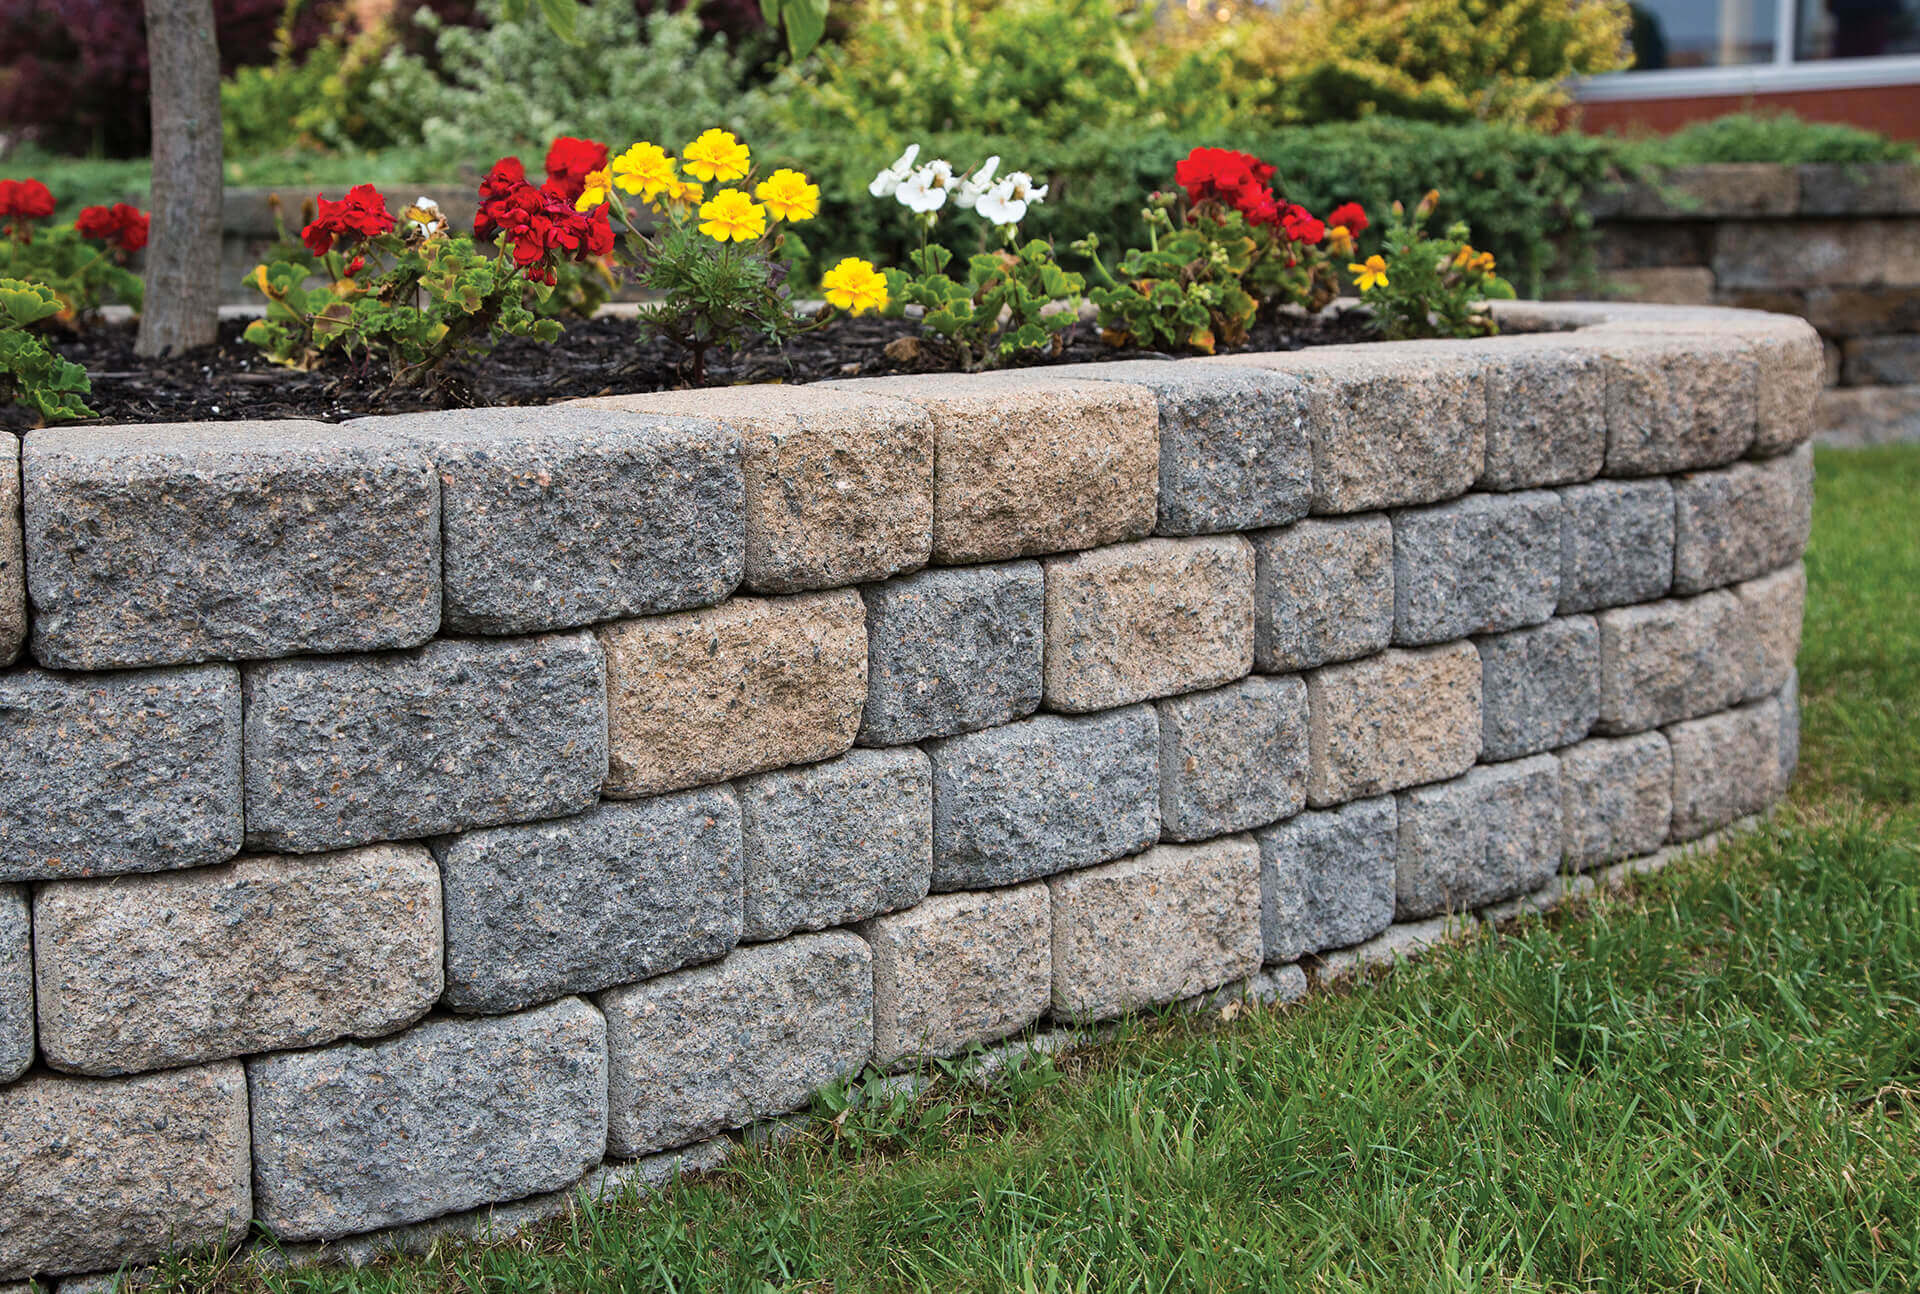
Installing a Garden Wall in 3 Easy Steps
No need to put off installing that garden wall any longer! Here are a few simple steps to get your garden looking beautiful with addition of a simple garden wall. First things first – determine the square feet of your garden wall, then calculate the number of units required to complete your project and you’re ready to go!

Items You’ll Need:
- Chisel
- Mallet
- Shovel
- Gloves & Safety Glasses
- Wheelbarrow
- Carpenter’s Level
- Stakes & String
- Concrete Adhesive
- Tape Measure
- Gravel
Step 1:
Base Preparation – Once you have drawn up plans and marked off the site of your garden wall project, dig a trench at least 8” deep by 16” wide by the desired length. Compact gravel in the trench and fill to a depth of 6” to withstand loading on the surface and seasonal frost from below.
Step 2:
The First row – Lay the first level of blocks on the completed gravel base, making sure the units are level from side to side and front to back. Bury half of the base block.
Step 3:
Additional Rows – Stack additional rows by staggering the units along the wall to your desired height.
Capstones – Apply adhesive on the last course to adhere to capstones. Then fill your garden wall or planter with soil.

Be sure to share a pic of your finished product with us on social media. If you should need any further assistance of have questions, feel free to stop by one of our Shaw Retail Centres.
Happy Building!
